Compression is a good way to speed up website performance. It reduces page load time, saves bandwidth, and reform the user experience. In this article, you will learn how to enable gzip compression in cPanel
This compression is based on the Apache mod_deflate module. If this package is not available in your account you have to get it installed through WHM panel or from someone who has all the root access of the server otherwise you won’t be able to use gzip compression.
The compression minimizes the size of the file before the server sends back them to the request. compression and decompression process takes less time as compared to sending large files over the internet. once the browser gets the files, it decompresses the content and displayed it on the web pages. In that way, users get faster load time and better experience of the website.
Enabling compression in cPanel is the standard method and by doing so you automatically compress all the files for the website in that server. This reduces the pages size up to 65-70%.
Follow the steps, To enable the gzip compression:
- Log in to yourdomain.com/cpanel
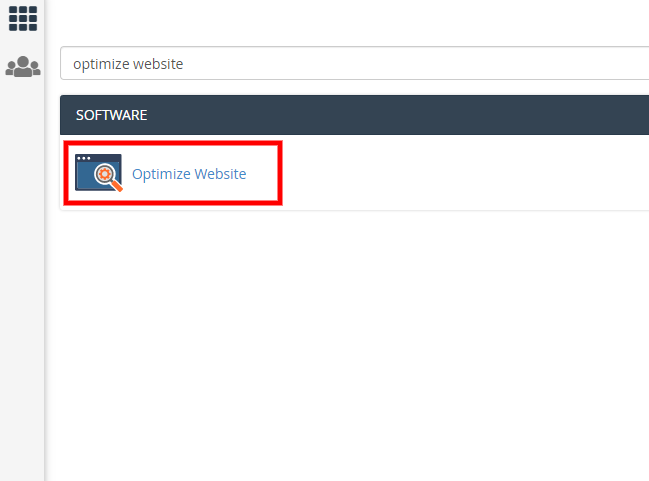
- Search for Optimize Website (SOFTWARE cPanel section)
- Here you will get 3 options:
–Disabled – which will disable the compression
–Compress All Content – which will compress all content
–Compress the specified MIME types – You will be able to input only certain MIME file types. - So select the second option and click the Update Settings button.
- gzip compression is enabled now.

Hope you have found this tutorial helpful. Please comment below encase any problem